Walkthrough
The tutorial teaches you to drive. This teaches you to arrive. Every system in the game, one section at a time.
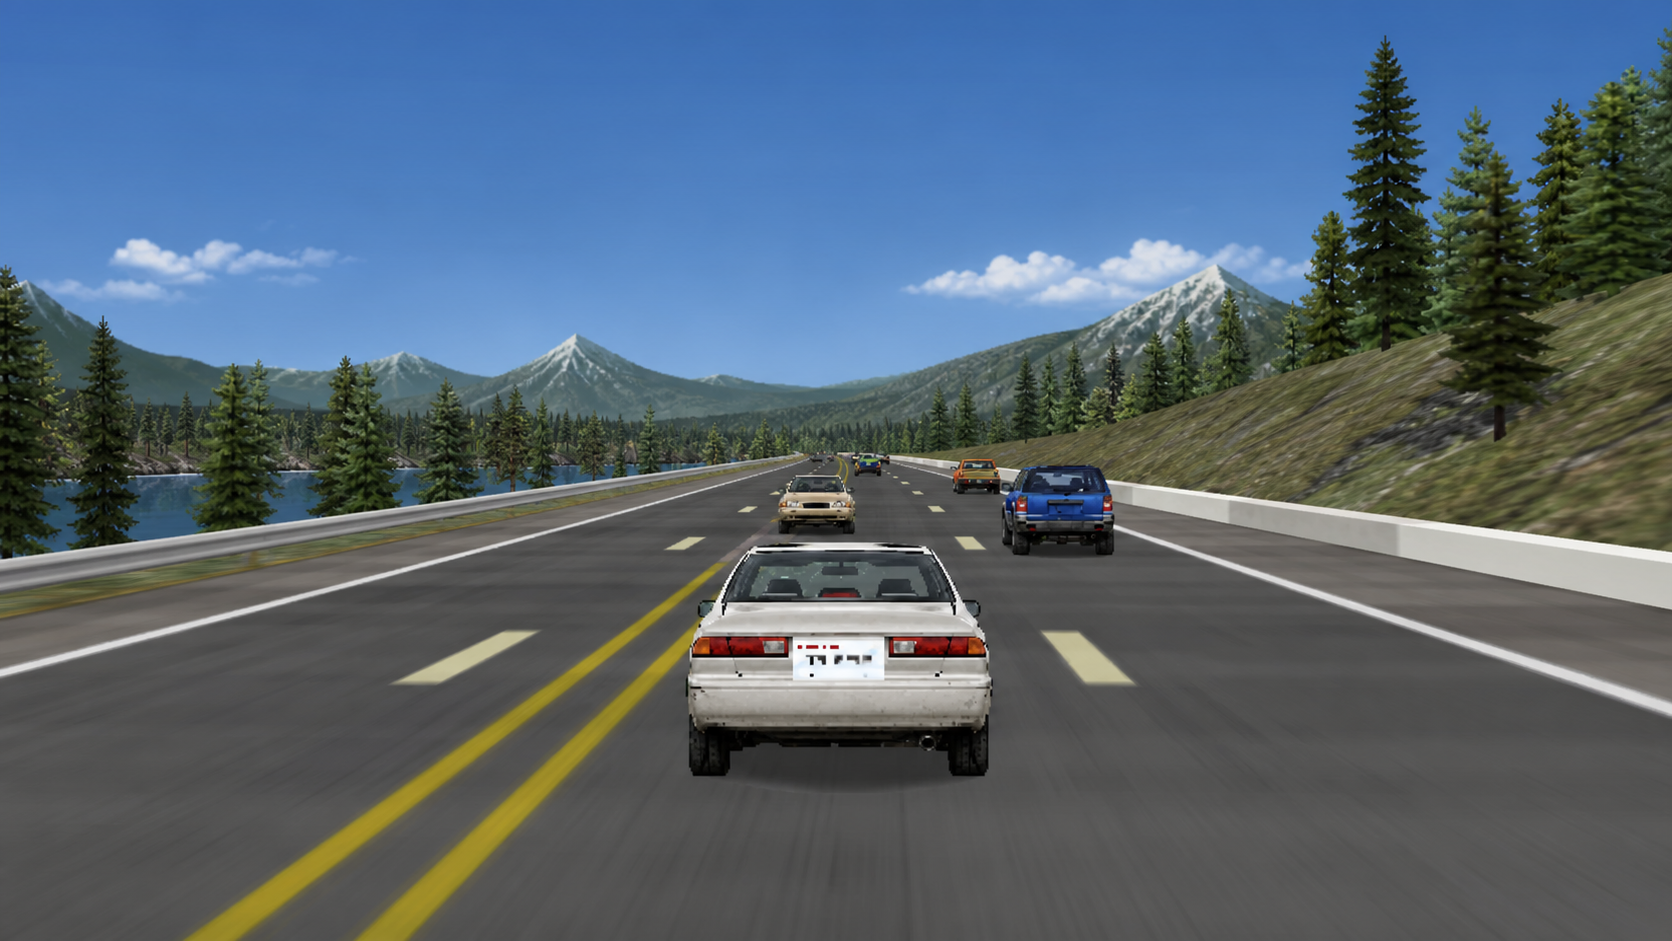
1 · Driving
Your car has two natural speeds: a cruise it settles into with no pedal input, and a pedal-down top speed. Which pair you get depends on your genre — the Reggae van cruises at 80 mph while the EDM supercar tops out at 165. Caffeine pushes both higher; ACCEL boost pickups slam you past your top speed for a few seconds.
- Steering is about lane position, not just dodging — the shoulder and grass cut your grip (more or less depending on the car).
- Speed is money (see §4), but speed is also damage, heat, fuel, and police attention. The whole game lives in that trade.
2 · Survival bars
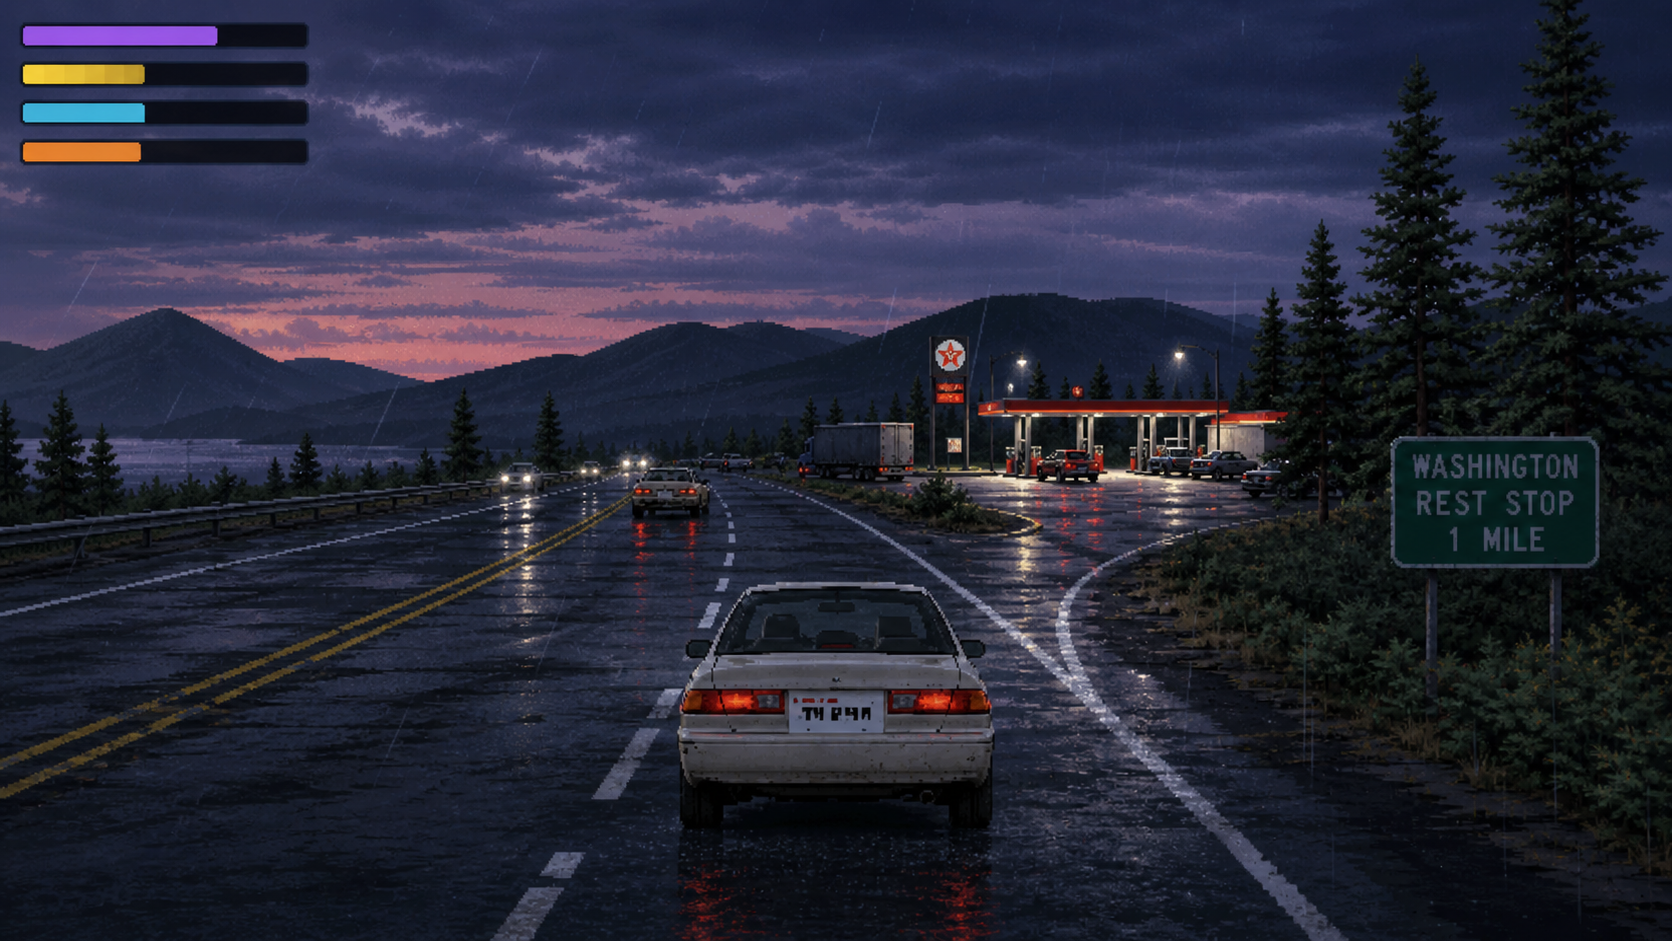
Top-left: the four survival bars — Alertness, Food, Drinks, Bladder.
You're a human being, unfortunately. Four needs drain as you drive:
- Food — burn through it and you weaken; fix it with roadside pickups and rest-stop meals (burritos, combo meals, questionable gas-station sushi).
- Drinks — thirst drains on the dry side of the state; drinks restore it, and caffeine drinks also feed Alertness.
- Bladder — everything you drink ends up here. Rest stops have bathrooms. The shoulder of WA-26 also, technically, exists.
- Alertness — the killer. It sinks all night; let it empty and you'll drift, weave, and eventually meet a guardrail. Caffeine spikes it, but caffeine crashes.
Overfilling has consequences too — top a bar past 75% and stuffing more in does half as much. Nobody needs a fourth hotdog.
3 · Fuel & engine heat
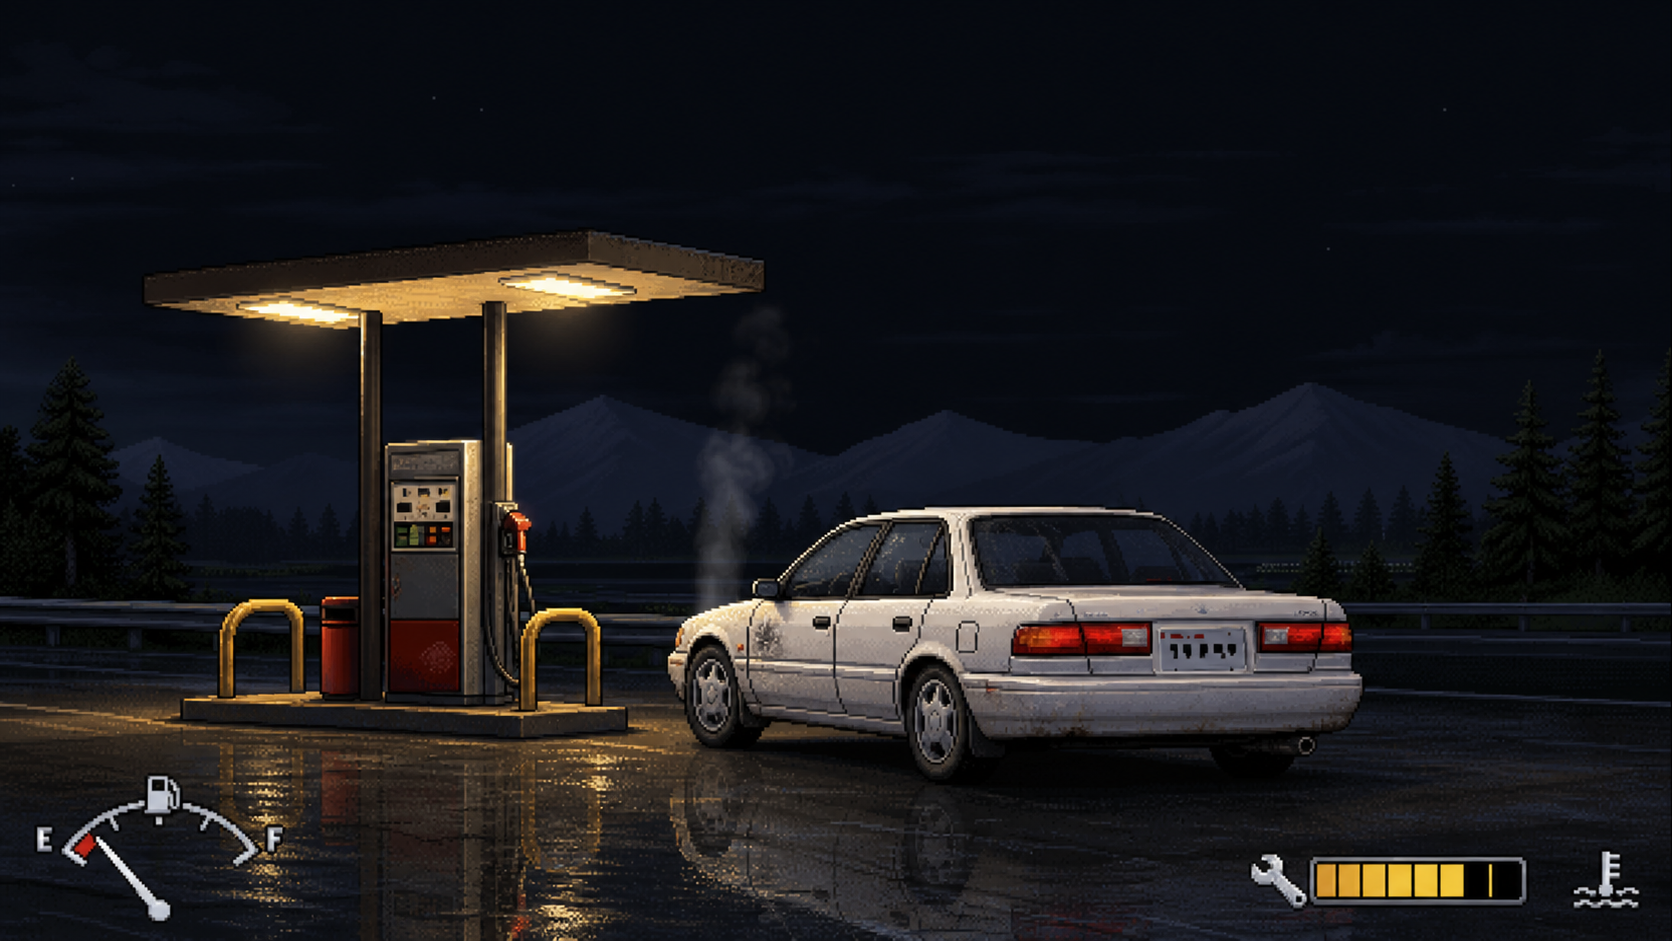
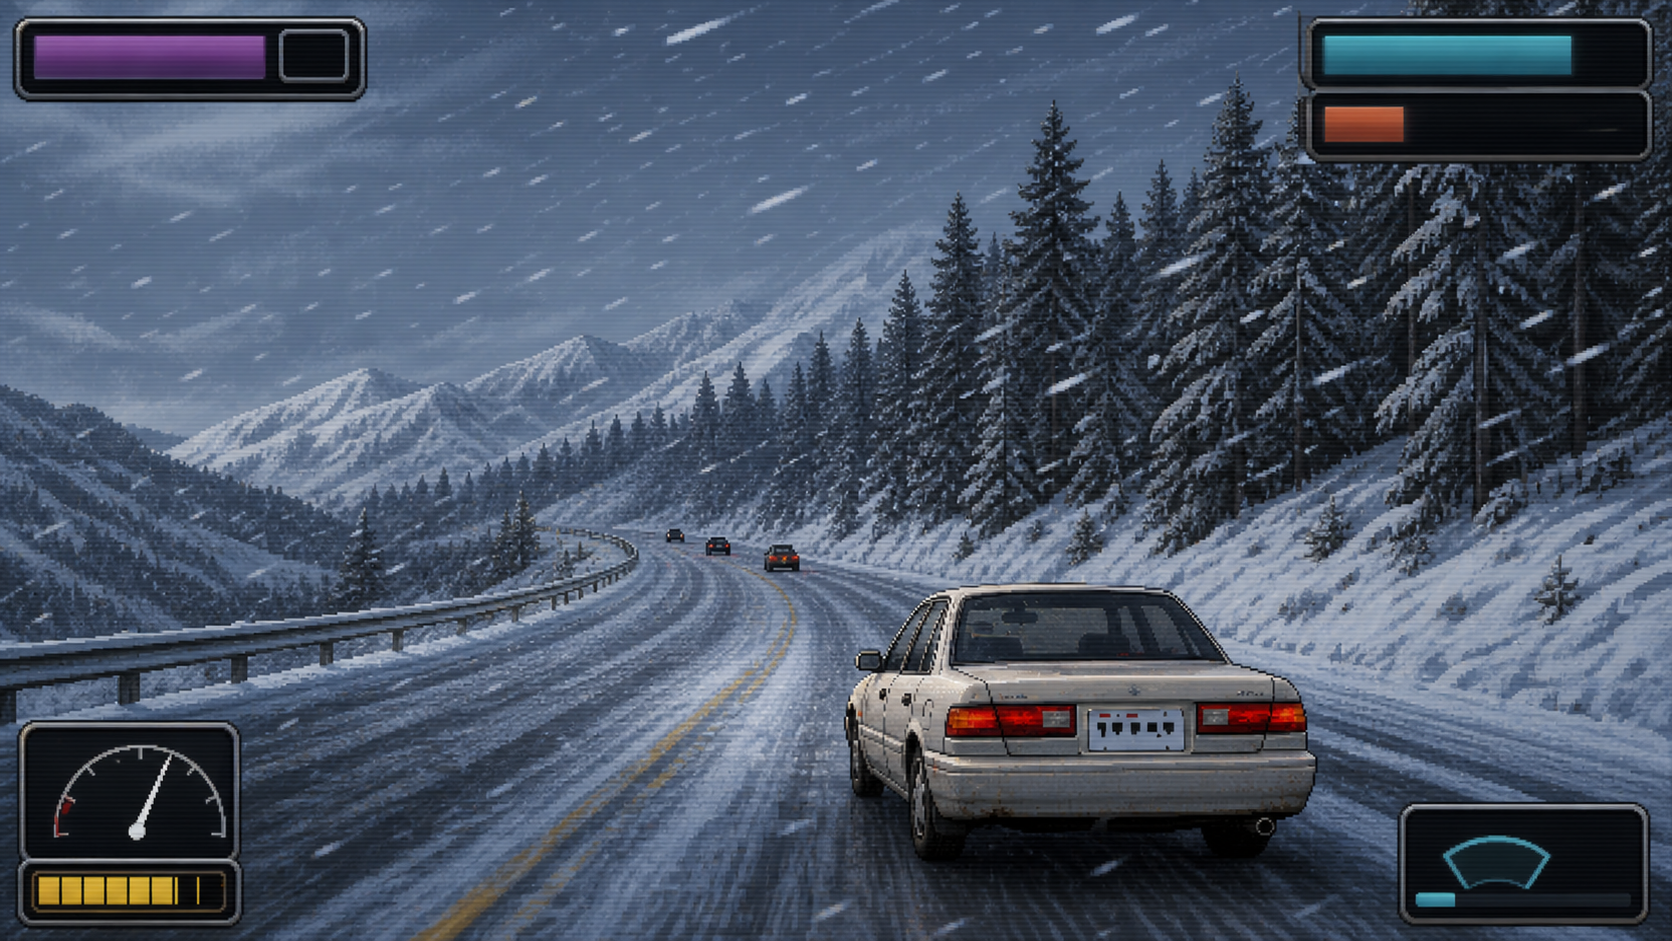
HUD: fuel gauge (bottom-left), repair level and engine temp (bottom-right).
Gas costs about $0.50 a mile, and the tank drains faster than the odometer: climbs guzzle hard, boosting adds a surcharge, and an overheating engine drinks even at idle. The gas light comes on with ~30 miles left — east of Vantage, that's not a suggestion.
Filling up has its own gamble: roughly 1 fill-up in 5 gets you robbed at the pump for a slice of your cash. Welcome to the road.
The engine also runs a temperature. Desert heat, long grades, and full throttle push it up; past the red line it enters limp mode — top speed cut to 60% until it cools — and redlining flat-out melts HP off the car.
4 · Money & the driving bonus
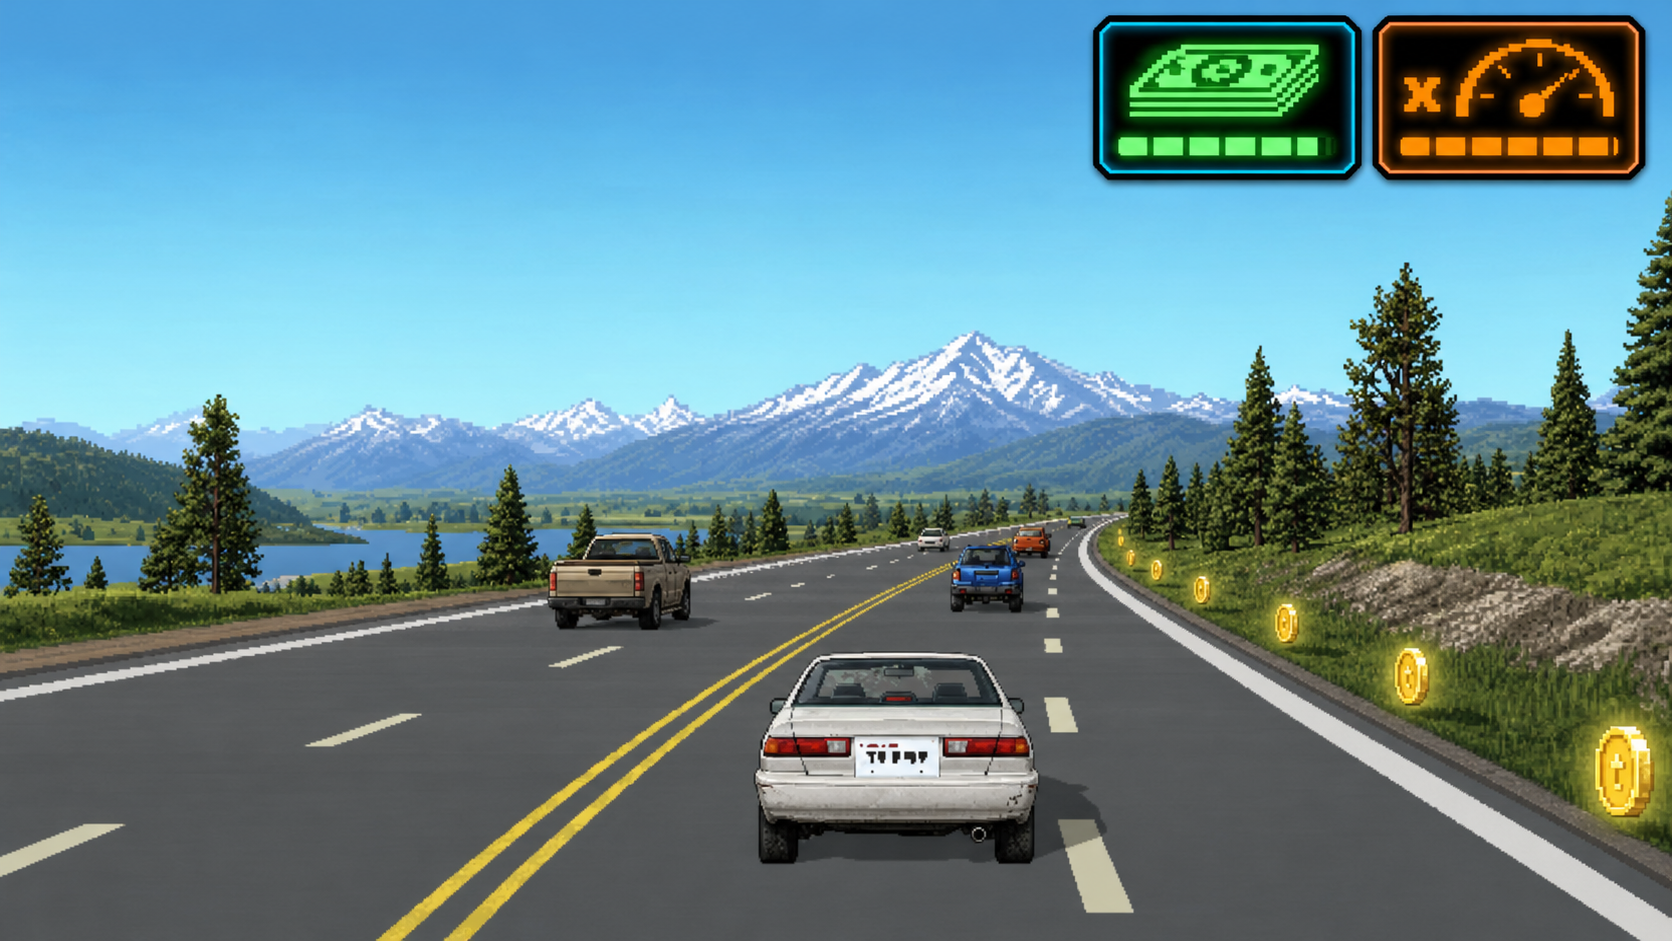
Top-right: driving cash and the bonus multiplier. Those coins on the shoulder are yours if you dare.
Driving itself pays — a per-mile trickle that scales with speed. Hold a clean, fast line and a driving bonus multiplier ramps up on top of it; scrape a fender or dawdle below cruise speed and it resets (each genre bends these rules its own way — Classic Rock gets +20% cash above 120 mph, Reggae never takes the slow-driving penalty).
Cash buys gas, repairs, food, and upgrades. Your score is the run's real report card — and it's what the leaderboard remembers.
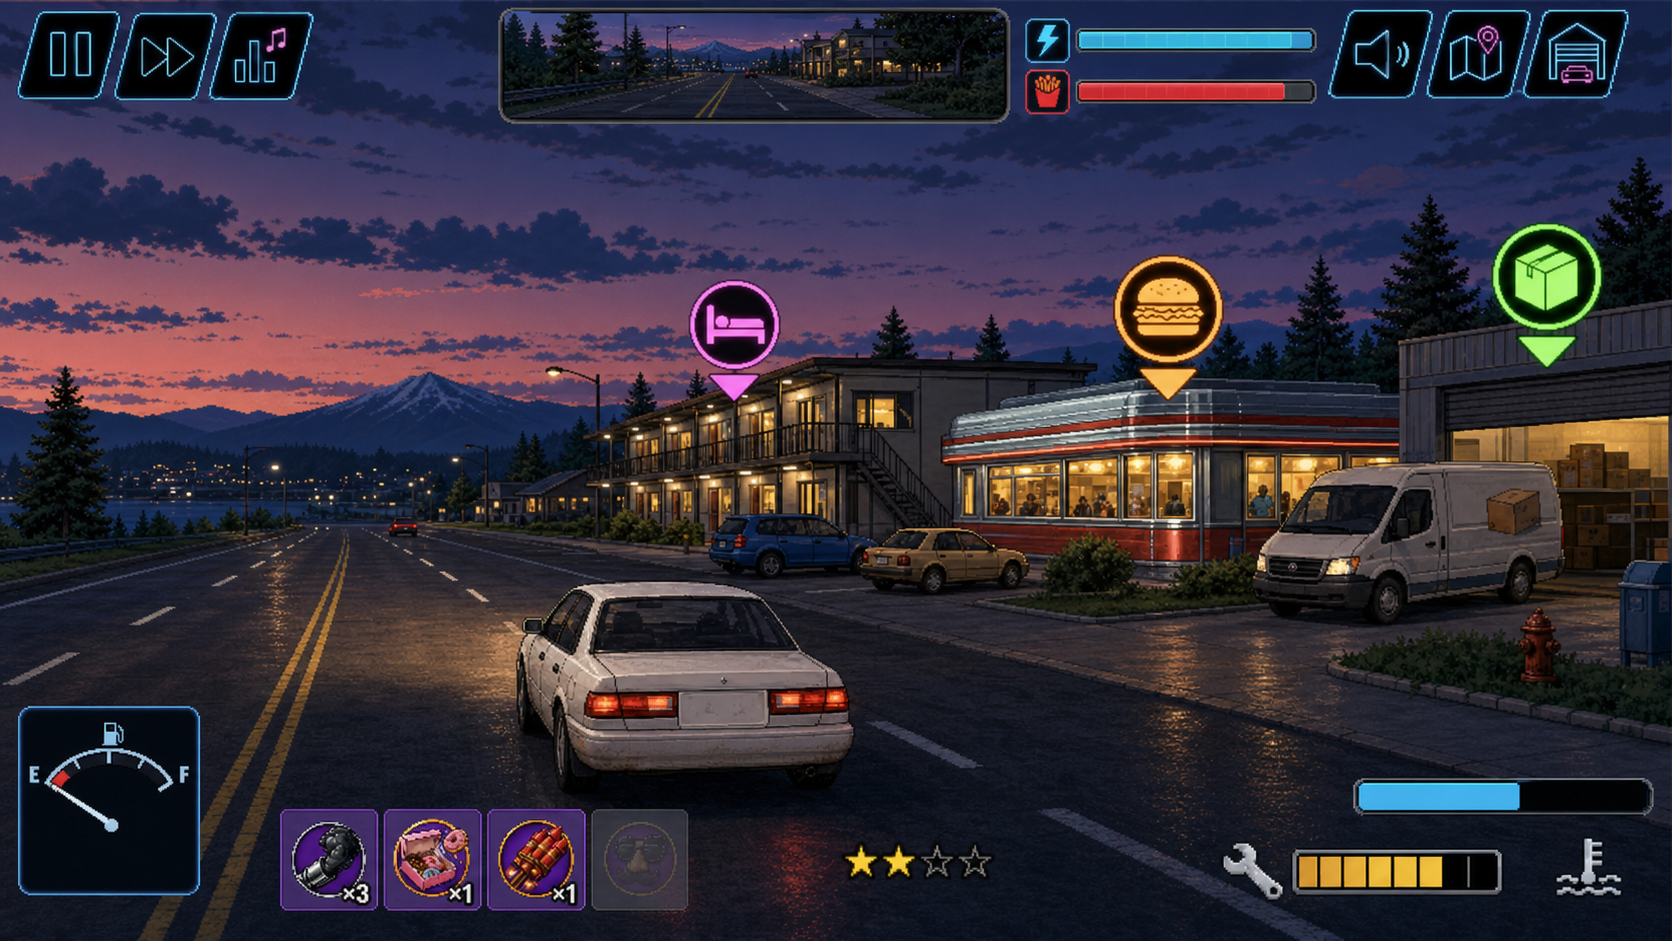
5 · Missions & rep
Markers flag work: lodging, food, and a cargo pickup. Bottom-center: your rep stars.
Rest stops post work: passenger fares, cargo and delivery runs, timed jobs, and shadier one-offs. Missions pay cash up front and build reputation — and rep tiers multiply mission payouts as you climb, up to ×5 at the top. The route out of Seattle pays pocket change; the same work in the scablands pays like it knows where you are.
- Cargo hates collisions — one good hit and the payout's gone (unless you're Norteño; the Custom Pickup's cargo survives one minor hit).
- Timed jobs punish detours but pay a fat on-time bonus (K-Pop's Idol EV gets +25% on it).
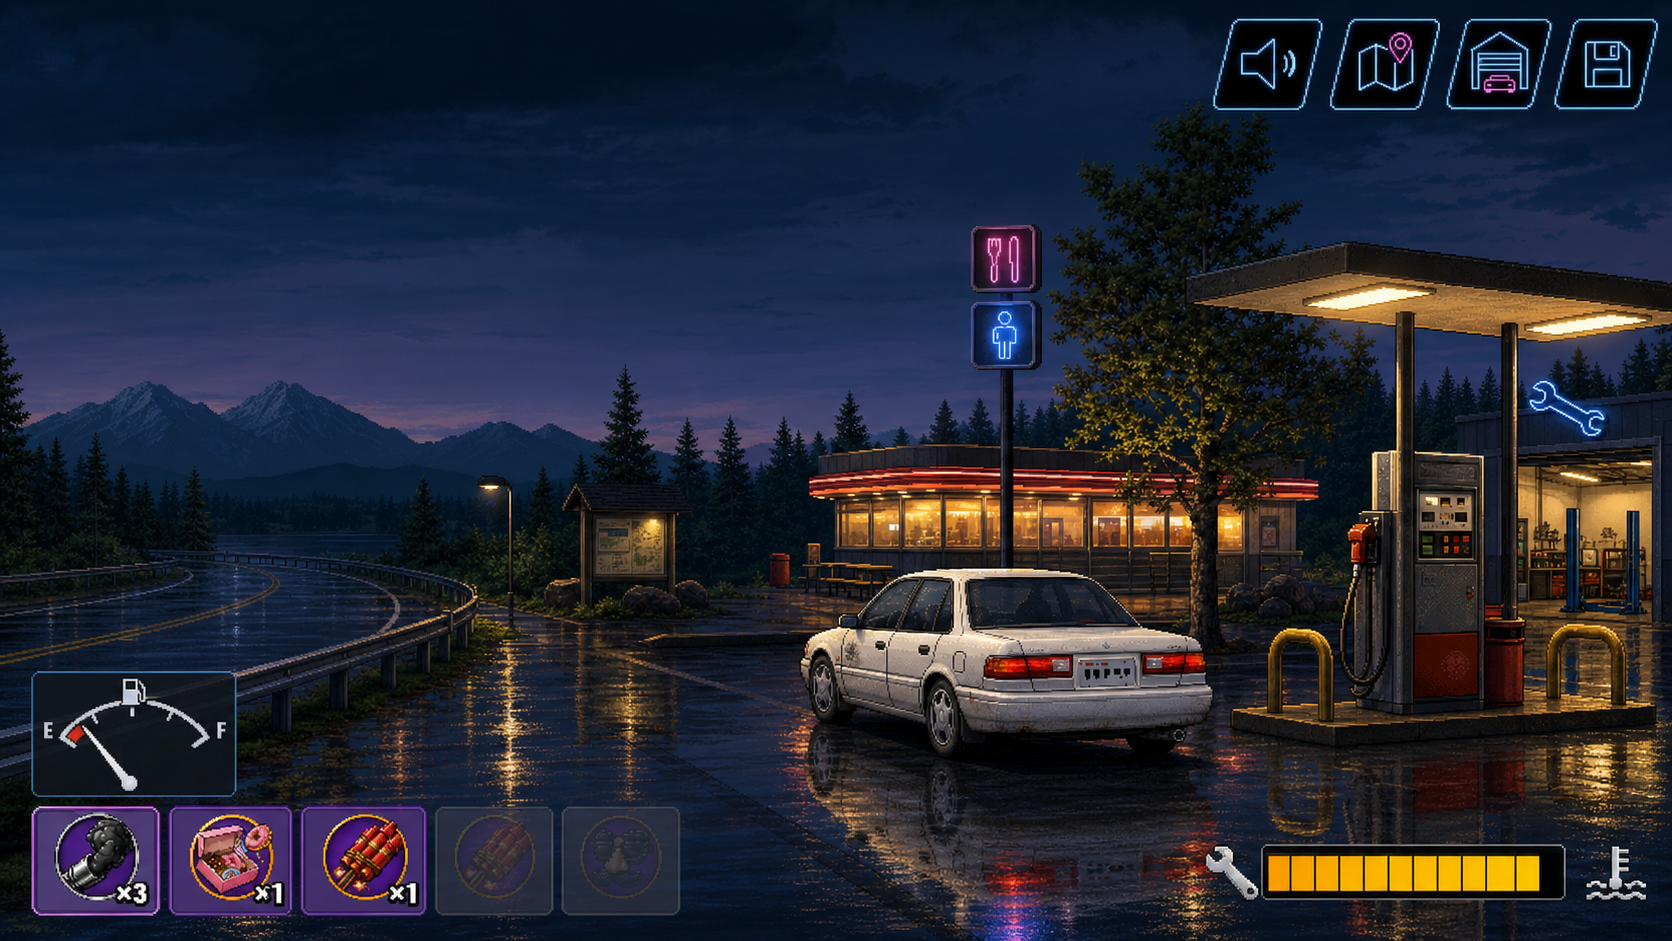
6 · Rest stops
Diner, bathrooms, pumps, and the repair bay — plus your weapon inventory (bottom-left).
Nineteen towns between Seattle and Pullman have an exit with your name on it. Pulling off stops the clock on the road but not on your night — inside you can:
- Buy gas, food, and drinks; use the bathroom; sober up your Alertness.
- Repair the car and buy upgrades.
- Pick up missions and passengers.
- Save your run — and learn something true about the town from the welcome sign (see the Route Map).
The gaps matter more than the stops: after Othello it's 44 dark miles of WA-26 with almost nothing. Roll out of a stop unprepared and the road will grade your packing list.
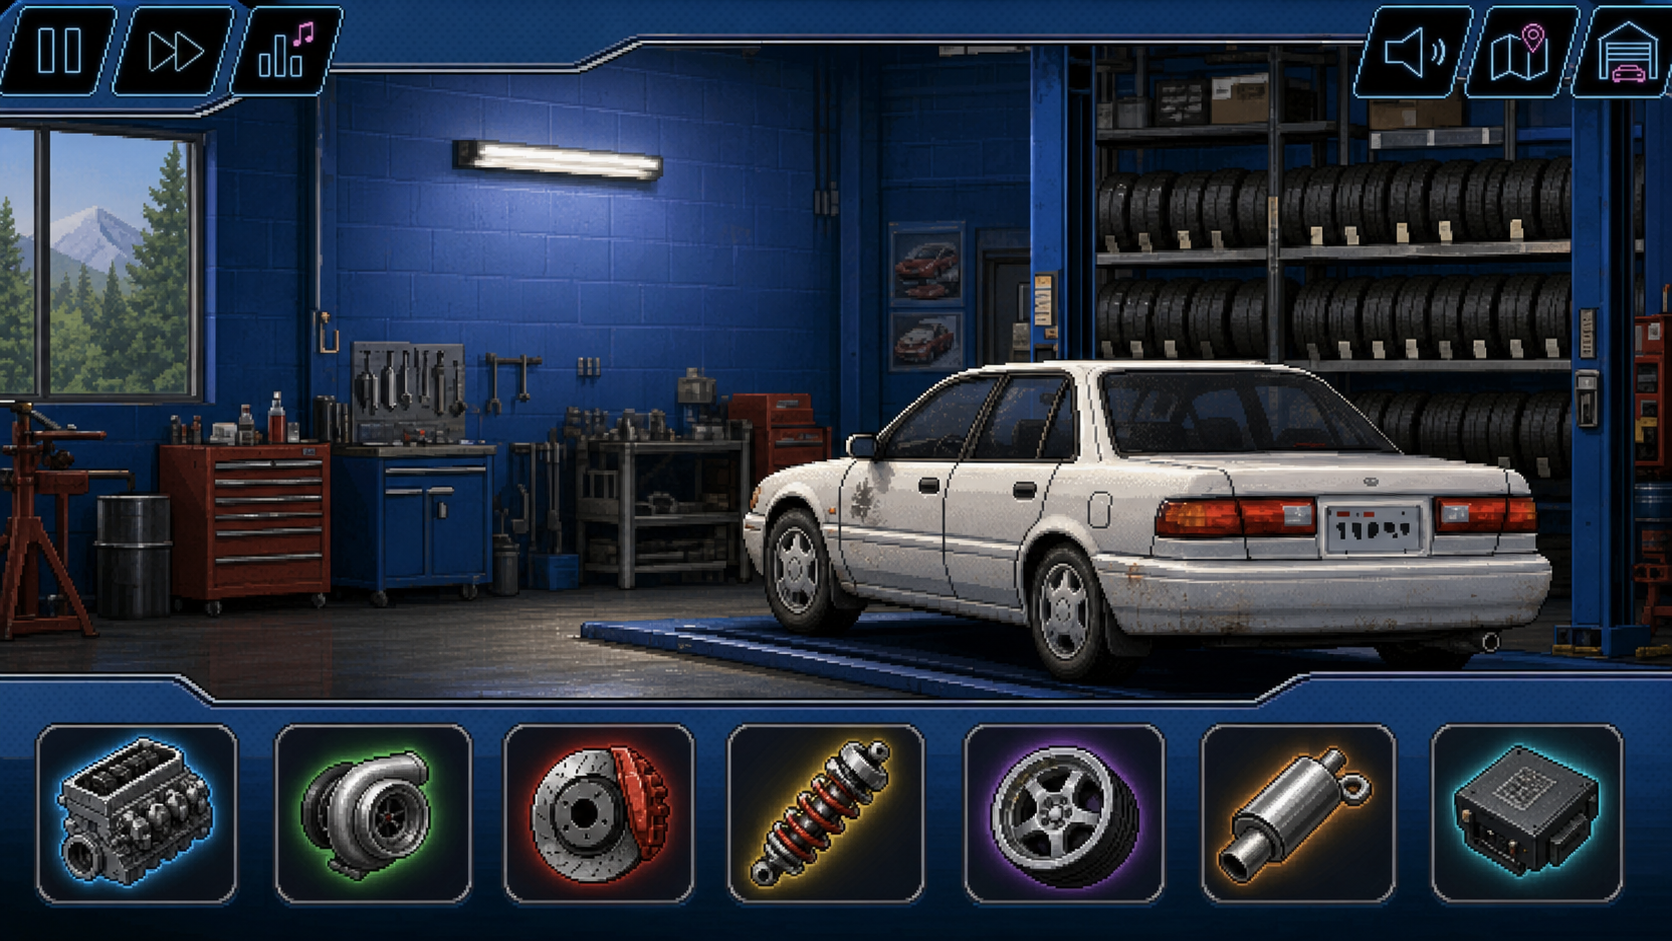
7 · Upgrades & dealerships
The part slots: engine, turbo, brakes, suspension, tires, exhaust, and the ECU.
Cash sunk into the car stays sunk into the run — bigger fuel systems for range, better cooling, brakes, tires for the Pass, and more. Pop-Punk's Tour Hatchback even gets its wrenching at a 25% discount.
Dealerships along the route will also sell you a different genre's ride if you've got the cash — switch scenes mid-run when your War Van's fuel bill stops being funny.
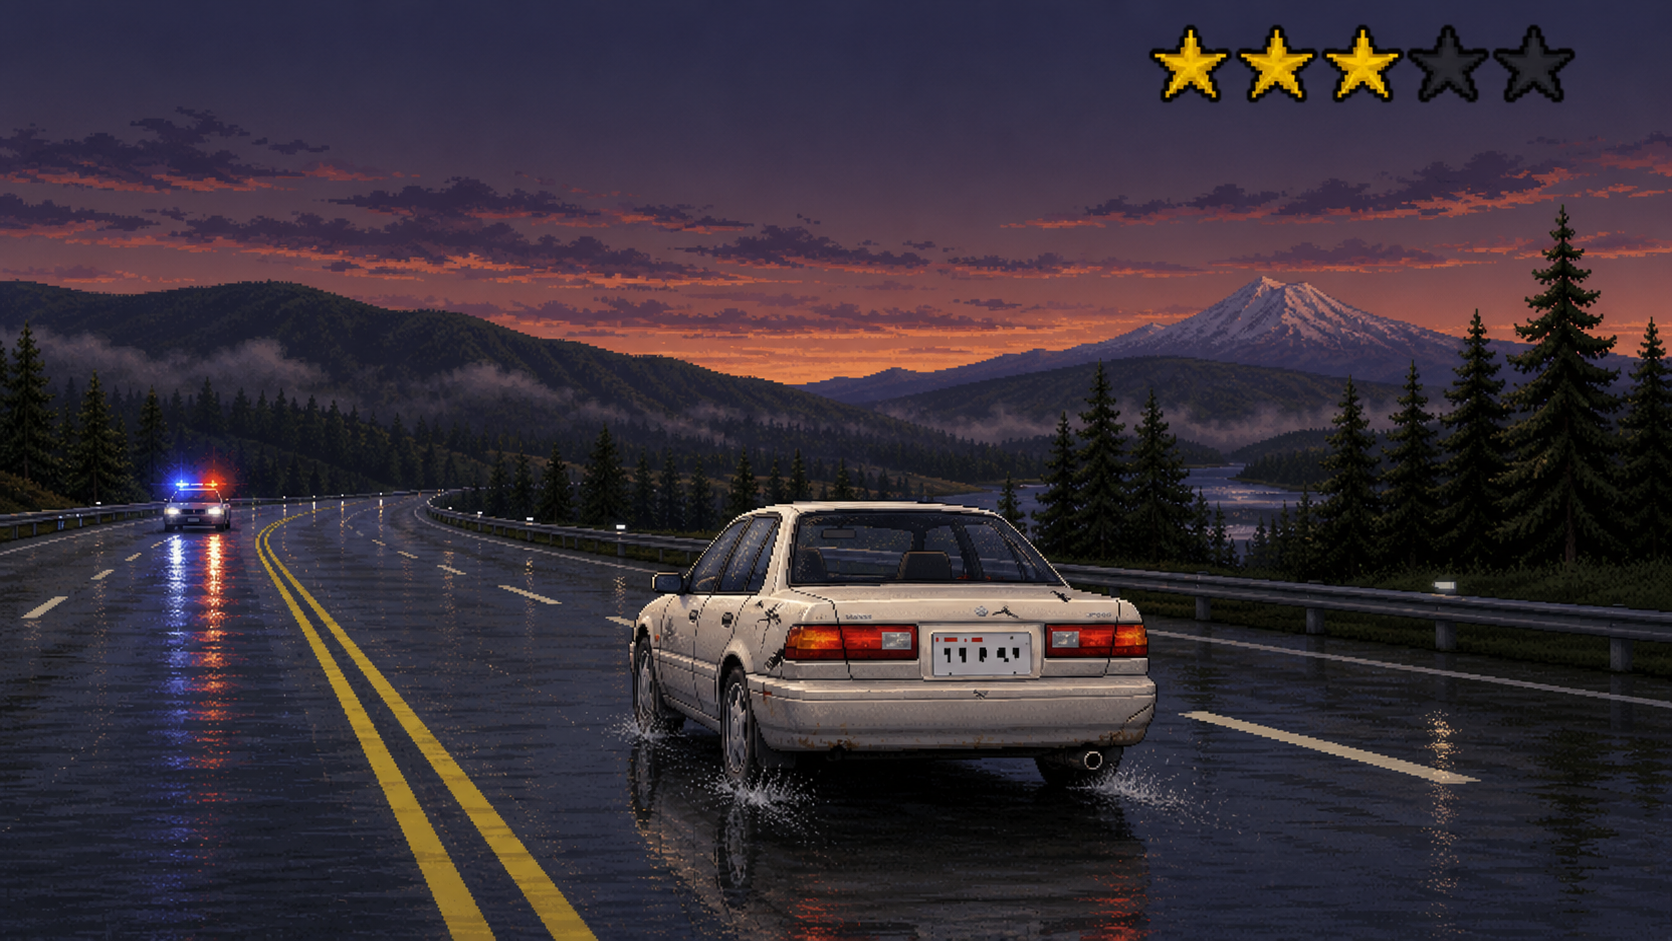
8 · Police & wanted stars
Top-right: the wanted stars. Behind you: the reason they exist.
The Washington State Patrol is the other main character. Speeding and reckless driving in view of a cop earns warnings, then tickets, then wanted stars — and once you're wanted, cruisers stop watching and start chasing. Stars decay if you keep your nose clean; how fast depends on who you are (phonk's sedan runs hotter, 25% slower decay).
- Tickets cost cash on the spot. Getting stopped costs time, which can be worse.
- Contact with cruisers chews HP — and enough stars bring enough cruisers.
- Reggae's van gets no warnings at all, ever, and pays a $200 surcharge on every ticket. The game knows exactly what it's saying.
9 · Weather & terrain
Snow eats grip and visibility — wipers (bottom-right) only fix one of those.
The route crosses a mountain range and a desert in one night, and the game simulates the whole argument:
- Snoqualmie Pass — snow stacks on the windshield, grip vanishes, steering goes vague. Mud Truck country.
- Vantage — the Columbia crossing's crosswinds shove light cars around like shopping carts.
- The Basin & Palouse — heat that cooks the engine, rough road, and hills that eat fuel both directions.
10 · How runs end
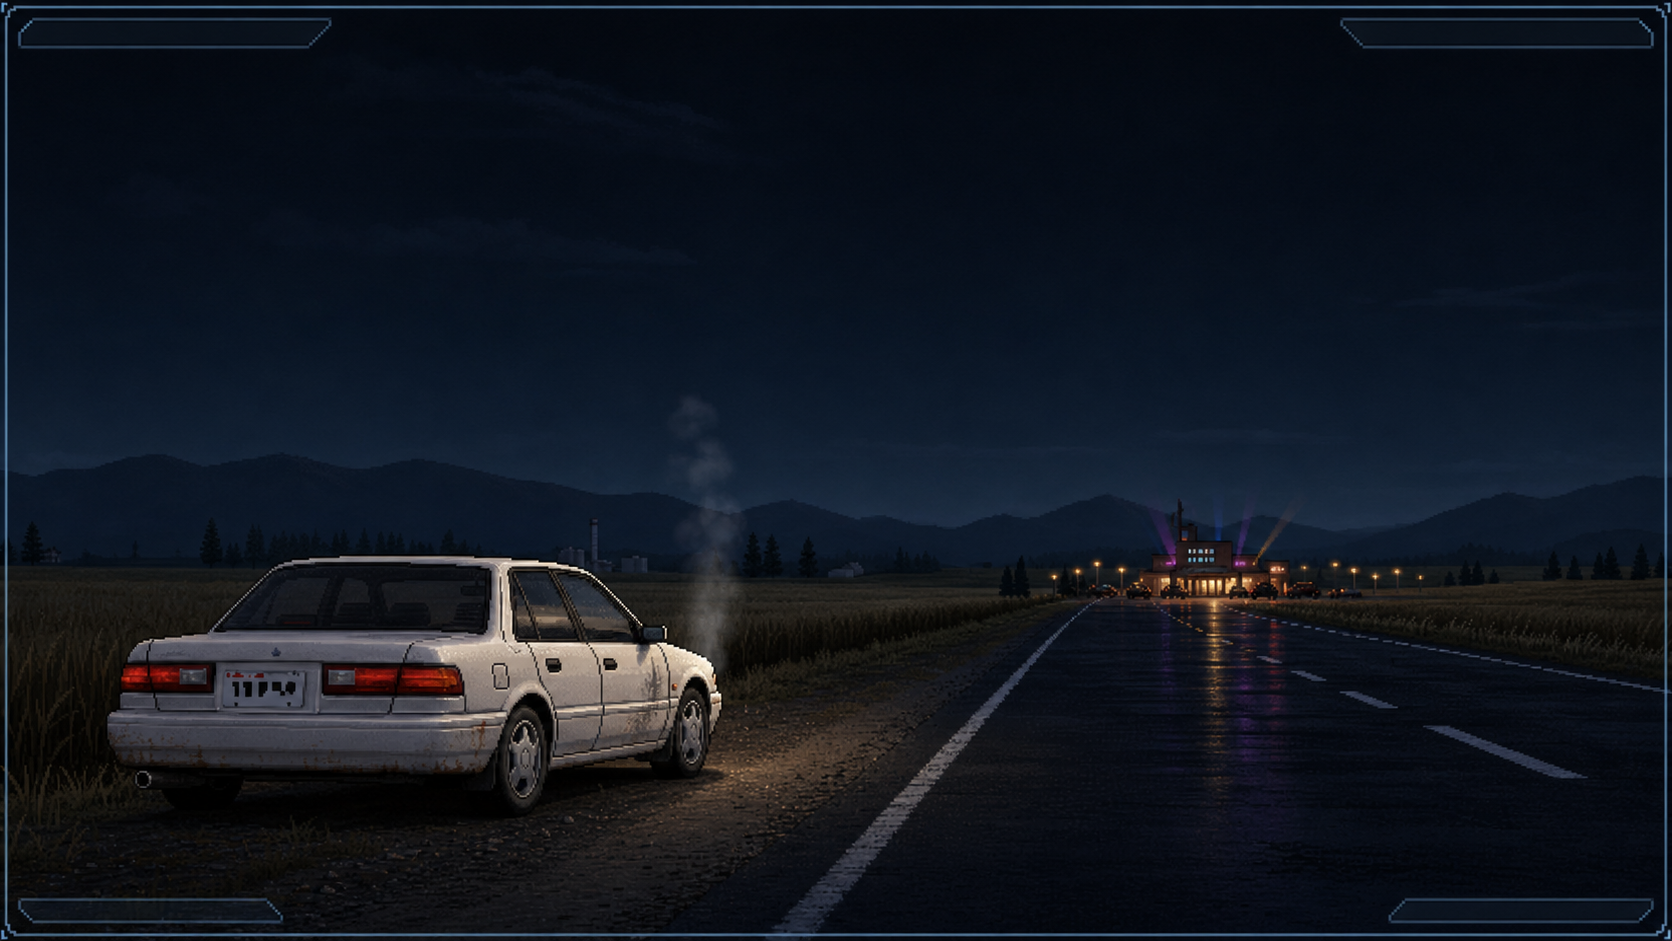
Sometimes the venue lights stay on the horizon.
Four ways, mostly:
- Crashed — HP hits zero. The road always collects.
- Busted — the stars caught up with you.
- Overdid it — too much of a good thing behind the wheel.
- Pullman — you made it. Score banked, name on the leaderboard, crowd waiting.
Then it's Friday again. Different genre, different machine, different run — same 293 miles. That's the roulette.